How to download, install and activate Kofax OmniPage?

Introduction :
This guide will take you through the essential steps of downloading, installing, and activating Kofax OmniPage, enabling you to effortlessly convert paper and PDF documents into editable, searchable formats. Whether you're a professional looking to improve your productivity, or a student looking to simplify your research, this guide will help you harness the full power of OmniPage. Embark on a journey that will transform your document processing experience with Kofax OmniPage. Novices will benefit from the step-by-step instructions.
-
Requirements
Kofax OmniPage download file.
Operating System: Windows 11, Windows 10, Windows 8, and Windows 7.
This installation guide is valid for:
- Kofax OmniPage Standard
- Kofax OmniPage Ultimate
-
Steps to follow
-
Download Kofax OmniPage
-
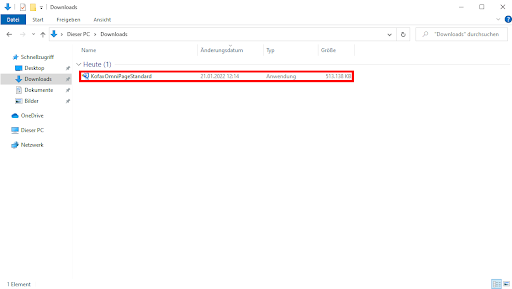
Go to your email address and look for the license key and download link. Press the download button and wait for the installation file to download to your computer.
-
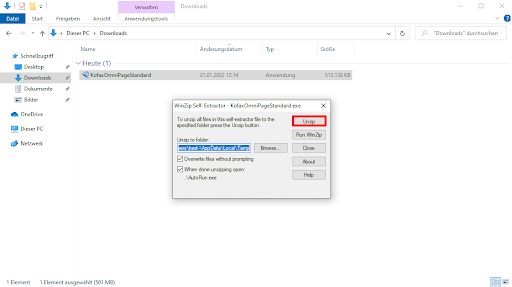
Click on "Unzip"
-
-
Install and activate Kofax OmniPage
Once the Kofax OmniPage installation file is ready:-
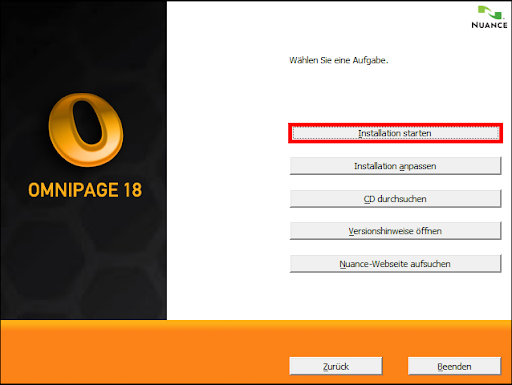
Choose your preferred installation language and click "Start Installation" to proceed
-
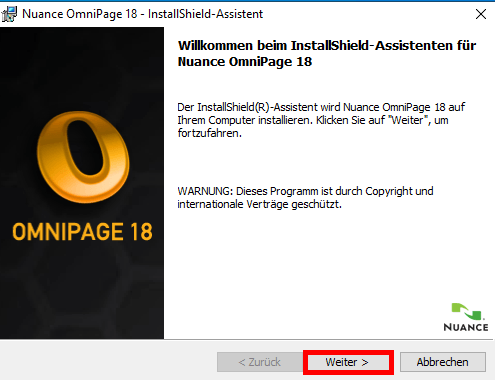
Click on "Next"
-
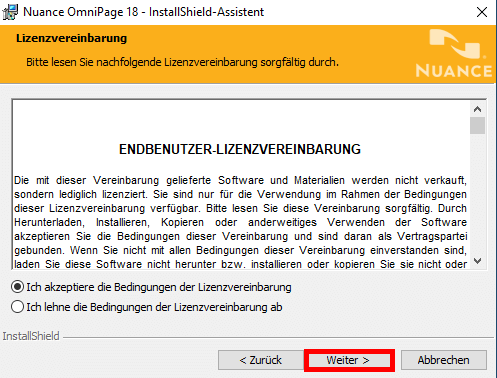
Agree to the "License Agreement" and then click on "Next".
-
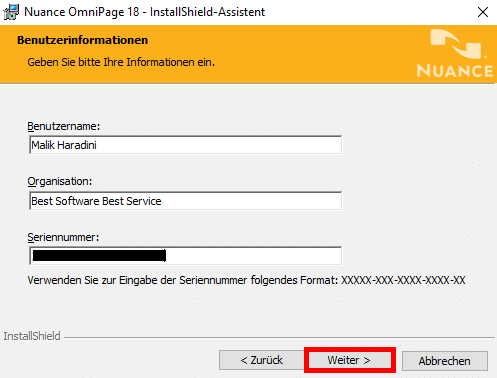
Create a username, and if desired, you can also set up an organization. Then, enter the serial number/product key.
-
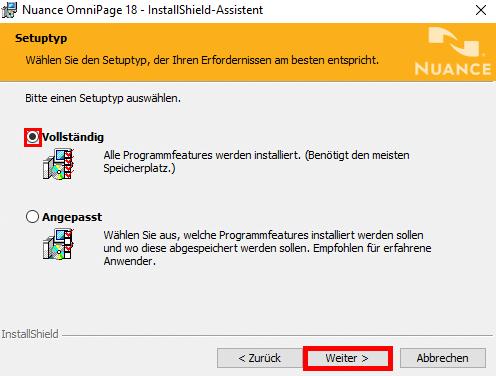
In the installation type, choose "Complete" and click on "Next".
-
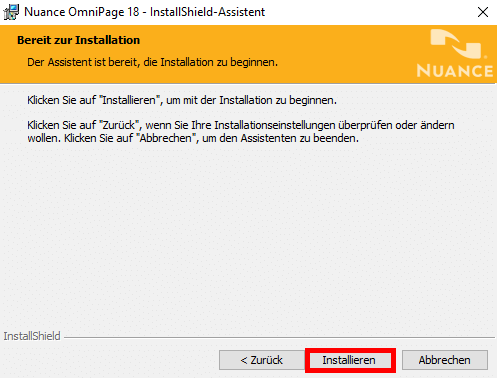
Click on "Install"
-
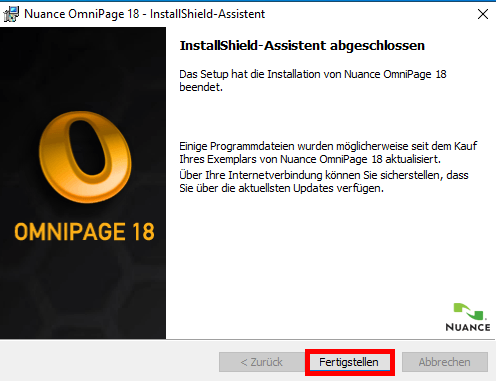
Click on "Finish".
-
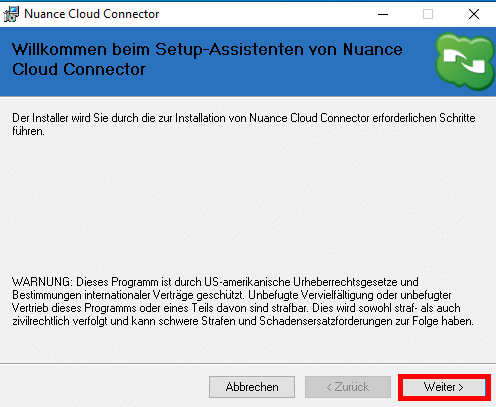
Click on "Next".
-
Accept the license agreement and click "Next"
That's great! Your Kofax OmniPage is now installed and activated on your Windows PC.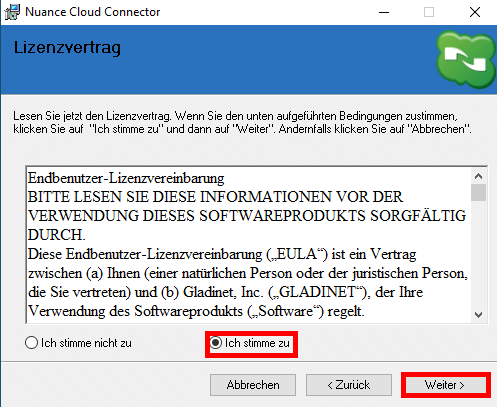
-
-
-
Read More
- How to Download, Install and Activate Office 2021 ISO
- How to Download, Install and Activate Office 2021 For Mac
- Bio: https://help.avast.com/fr/install/avast-ultimate?os=pc

